This is How to get the Cinderella Makeup Look at Home!
You don't need to be a princess to look like one. Audiences have been enchanted by Disney's original 1950 Cinderella movie for more than 73 years. The most magical part: When Cinderella is changed into a princess for the ball by her fairy godmother. You don't have a personal fairy godmother, do you? Not to worry. Promise Phan, a beauty expert on YouTube, has made the ideal tutorial to show you how to achieve Cinderella makeup look on your own and we have extracted all the information for you here:
Step 1: Make your skin as beautiful as a princess
Cleanse the skin with a gentle cleanser, followed by a toner.
Moisturize the skin with a hydrating moisturizer that matches your skin type.
Apply primer to even out your complexion and make makeup last longer. You can also use face oil as an alternative to this step if you don't have any primers available!
Apply foundation to even out the skin tone (this is where I would put on my contour if I had one). If you're going for a natural look, just apply some concealer on any blemishes or dark circles - don't overdo it though! We want Cinderella makeup to look natural and clean-cut rather than overdone like those 1980s power ballads we all love so much...
Step 2: Draw circles on the eyes to make them bigger.
Draw circles on the eyes to make them bigger.
Use a black eyeliner pencil to draw circles on the top lid, starting from the inside corner of each eye and working toward the outer corner.
Blend well with a small brush or sponge applicator (if you don't have an eyeliner pencil).
Step 3: Apply foundation and powder to your face, nose, and ears with a sponge.
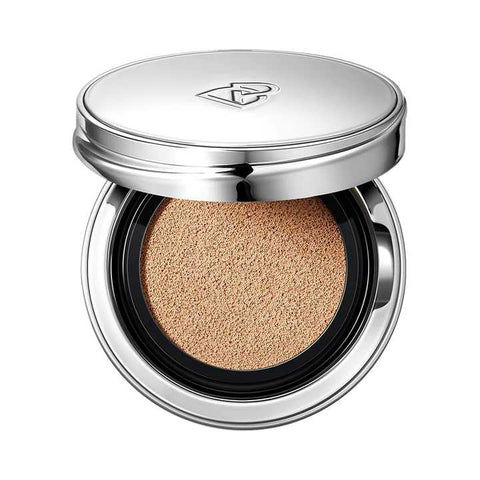
Make sure to apply it in layers rather than all at once. You can use a powder brush for this step as well. We recommend choosing the Renewal Flawless Cushion Foundation or Supreme Nude Natural Flawless Hydrating Liquid Foundation from Perfect Diary.
Step 4: Draw lines from the outer corner of your eye to the cheekbone, along the jawline, and down the sides of your nose.
To get the perfect cat eye, you'll want to use a brush. Dip your brush into black eyeliner and draw on the lines from step 3. You can use a pencil as well, but I prefer using a brush because it gives me more control over how thick or thin my line ends up being. The key here is not to overdo it; if you put too much product on your skin, it will be hard for you to blend out later!
Step 5: Fill in the rest of your face with blush and bronzer for color.
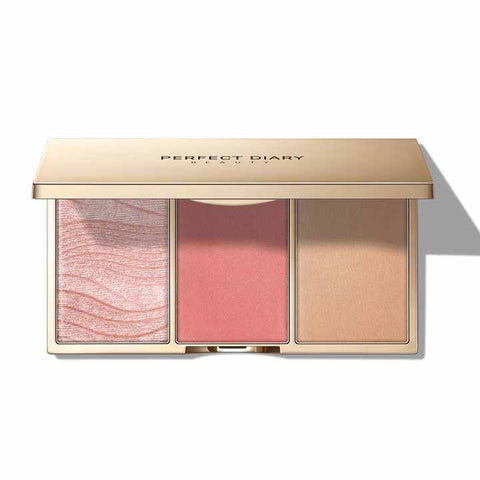
For the rest of your face, use a brush to apply blush and bronzer. Blush should be a lighter color than your foundation, while bronzer should be a shade or two darker than your skin tone. The idea is that these products will give you some color in places where there wasn't any before (like cheeks) as well as add depth to areas that were slightly too pale (forehead). Try the 3-in-1 Sculpting Palette from Perfect Diary for this step.
Step 6: Use eyeliner on the upper lash line only.
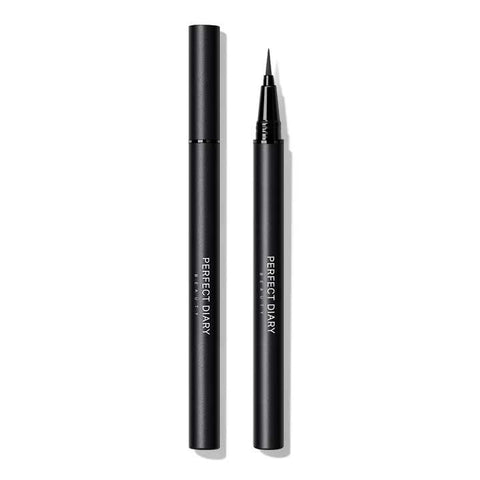
Use eyeliner on the upper lash line only. Don't use eyeliner on the lower lash line, inside of your eye, or brow bone. Use the Slim Long-lasting Liquid Eyeliner for this step.
Step 7: Line your lips with a nude pencil or lipstick, then fill them in with blush or brown liner.
To line your lips, start with a nude pencil or lipstick. Then fill them in with blush or brown liner. You can also use nude lipstick if you prefer to skip the pencil step altogether. And you are done!
Cinderella makeup look is a great way to make yourself feel like a princess. But it's important to remember that makeup is art, and like all art, you should be free to experiment with colors and styles that appeal to you--not just what other people say is "right" for your face. If you're not sure where to start with your Cinderella look, try these tips:
Don't be afraid to play around with different colors! If you want blue eyeshadow instead of red or purple lips instead of pink ones (or vice versa), go for it! The point here isn't just looking good but feeling good too--and if wearing green lipstick makes you feel happier than wearing peach lip gloss does then by all means go ahead and slap on some green lipstick!
Just remember that after application there may be some touch-ups needed later on down the road when things start fading away; so, don't forget about applying primer beforehand if possible, so as not only to protect against smudges but also to keep everything looking fresh throughout the day (or night).
Now you're ready to go out and meet your prince!


