Read this to Learn Elsa’s Disney Makeup Look From The Movie Frozen
We have received many requests to do a complete tutorial for Disney makeup look and one name which we received the most is Elsa from the movie frozen. Let's get into it.
Introduction:
We are guessing that you are a Disney movie fan and you have been looking to copy the look of the famous character Elsa. If you don't know her, let us introduce: a made-up character named Elsa of Arendelle makes an appearance in the 58th animated film, Frozen II, and the 53rd animated film, Frozen, both produced by Walt Disney Animation Studios. In Frozen, she is primarily voiced by Broadway actress and singer Idina Menzel, with younger versions played by Eva Bella and older versions by Spencer Ganus. Let's get into the Disney Makeup tutorial to get her signature and ultra-popular look.
Start by applying a primer.
A primer is a must-have for any Disney princess. It can help your makeup stay put, look better, and last longer, but it's also great for making your skin look more natural.
If you have oily skin, use a silicone-based primer that will help to keep the shine away. If you have dry skin, go for one that contains hyaluronic acid and vitamin E to hydrate your complexion. If your skin is normal (like mine), there are primers available in both silicone and hyaluronic acid formulas that work just fine!
Use a foundation shade that is approximately two shades lighter than your complexion.
When it comes to foundation, you want the right color. If your skin is on the lighter side of the spectrum, a shade that's two shades lighter than your complexion will help even out your skin tone and give it an airbrushed finish. If you have darker skin, try a liquid or cream formula in either light-to-medium or medium-to-dark shades--and if that doesn't work for you, try mixing two different foundations (one for coverage and one for color).
Another option: tinted moisturizer! This lightweight formula provides moisture while also evening out imperfections in just one step for this Disney makeup. If using a tinted moisturizer sounds like too much work (or if they're not available where you live), simply use concealer under your eyes or anywhere else there might be discoloration on the face.
Apply concealer to any dark circles, blemishes, or other imperfections.
Apply concealer to any dark circles, blemishes, or other imperfections. You can use a brush or your fingers (I prefer brushes) to apply the product. If you're using a brush, make sure it's clean, and then dab it into the concealer until you have enough on there for your liking.
Blend out any edges so they're not noticeable in your final look! I recommend using a beauty blender sponge because they are super soft and will blend out everything nicely without leaving any harsh lines behind.
Sweep a powder blush over the apples of your cheeks.
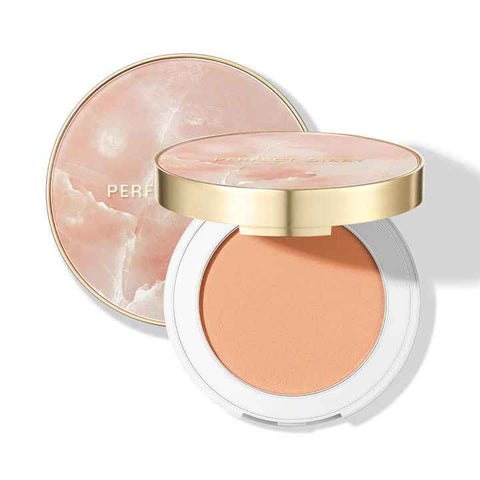
To apply blush, you'll want to use a brush or sponge applicator and sweep it over the apples of your cheeks. Blush should be applied in circular motions and lightly. Avoid applying blush on the hollows of your cheeks; this can make you look washed out and will draw attention away from your eyes (which is what we want!). To achieve Elsa's rosy complexion, apply a pink blush to the apples of your cheeks and blend it out with a brush or sponge applicator. Don't apply too much blush or it will look like you have a rash. We recommend using the Raw Gemstone Soft Color Blush from Perfect Diary for this step.
Outline your eyes with a liquid liner to give them more definition.
You can use a pencil, liquid, or gel liner to create a thin line along your upper lash line. If you're using a pencil, make sure it's not too thick and that the color is dark enough so that it shows up from a distance. If you want something more dramatic, use liquid or gel liners in rich tones like navy blue or deep purple--but make sure not to go overboard! If you've got thin lashes like me (and most people), apply mascara first so they'll stand out more against the rest of your face when wearing makeup.
Line the waterline under your lower lashes with black eyeliner.
To line the waterline under your lower lashes with black eyeliner, follow these steps:
Apply a thin layer of black liquid or gel eyeliner to a small brush. Dip the tip of the brush into some water and then blot it on a tissue; this will make it easier for you to draw thin lines without them looking messy or uneven.
Now, the line just inside your lower lash line from the inner corner of each eye out toward its outer edge (the "waterline"). Make sure not to go past where your eyelashes start growing!
If you want more drama without having to use actual false, lashes--or if they're just too much work--this step is key in making sure that no one can tell whether or not they're wearing any makeup at all while also adding definition where there previously was none before. * You'll probably make mistakes at first; don't worry about those! Just clean them up using another cotton swab dipped in makeup remover fluid.
Afterward, apply mascara by wiggling the applicator through each set of lashes once or twice toward the base but not into the corners. This technique works best when paired with false-lash application techniques such as curling beforehand so that all eyes look equally pretty when finished applying both products together.
Grab a medium-sized eyeshadow brush and apply white eyeshadow to the inner corner of each eye for a doll-like look.
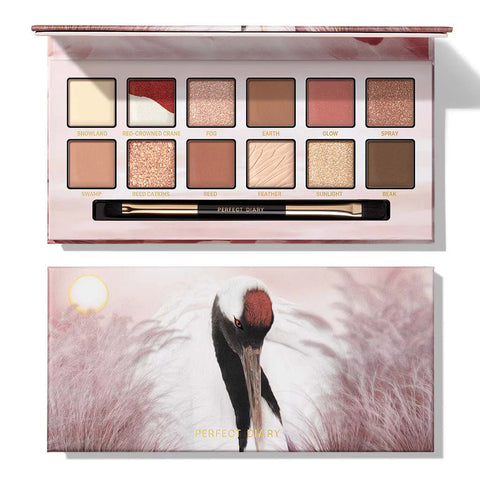
To give your eyes a doll-like effect, use white eyeshadow on the inner corners of your eyes (Explorer Eyeshadow Palette 12 Red-Crowned Crane is recommended). This will make them appear larger and more open. If you have hooded eyelids or very dark lashes that tend to show through most colors of eyeshadow, this method may not work well for you (and even if it does work well for some people with hooded lids, they may still prefer not to use it).
Apply eyeliner (we recommend using the Creamy Smooth Longwear Gel Eyeliner) along the upper lash line and wing it out using an angled brush at a 90-degree angle from the lash line (don't use this method if you have hooded eyelids).
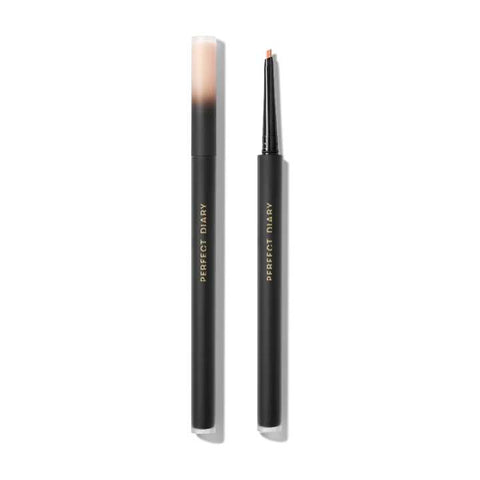
Next, outline your eyebrows with a pencil. You just need to make sure that they're even with each other before filling them in completely or else they'll look uneven once they're done. For best results start at the inner corner of your eyebrow then work outward towards the outer corners so as not to give yourself an "angry" look when drawing them on!
Conclusion
I hope you enjoyed this Disney makeup tutorial. It's easy to follow and you can do it in less than 10 minutes. You'll look like Elsa from Frozen, but all grown up (and not wearing blue snow pants). You'll be the belle of the ball!


